Add your first client and pet
Every booking starts with a client (the human) and a pet (the dog, cat, or even that one brave soul who brings a snake).
Let’s add your first one so you’re ready to book straight away.
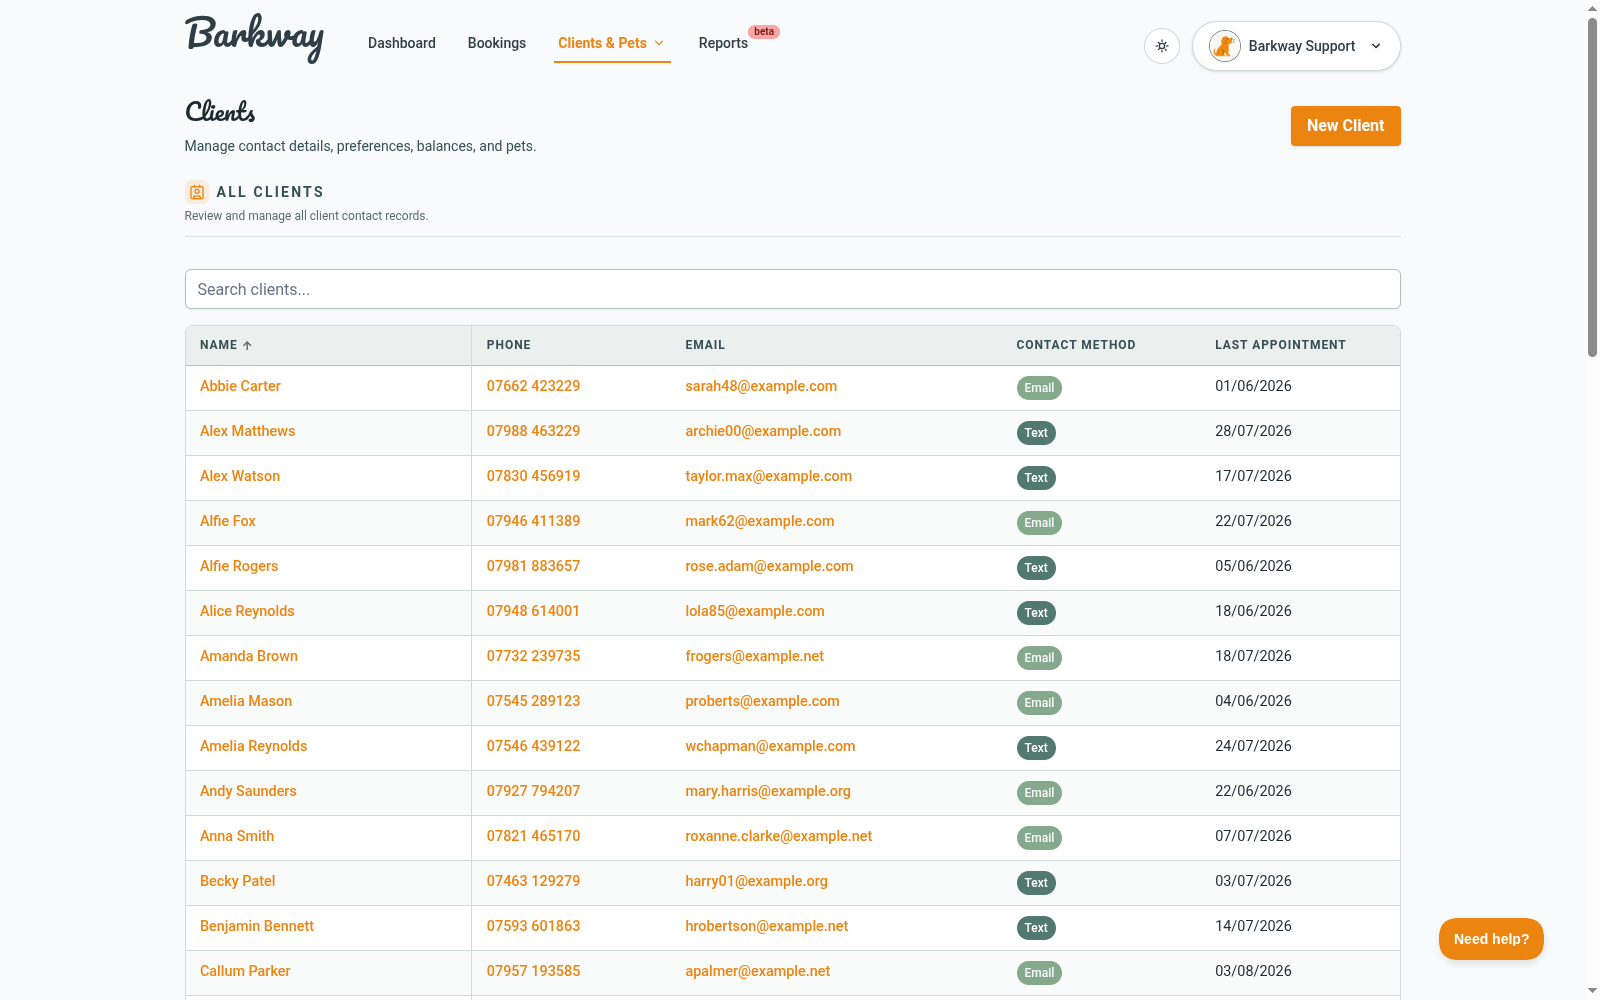
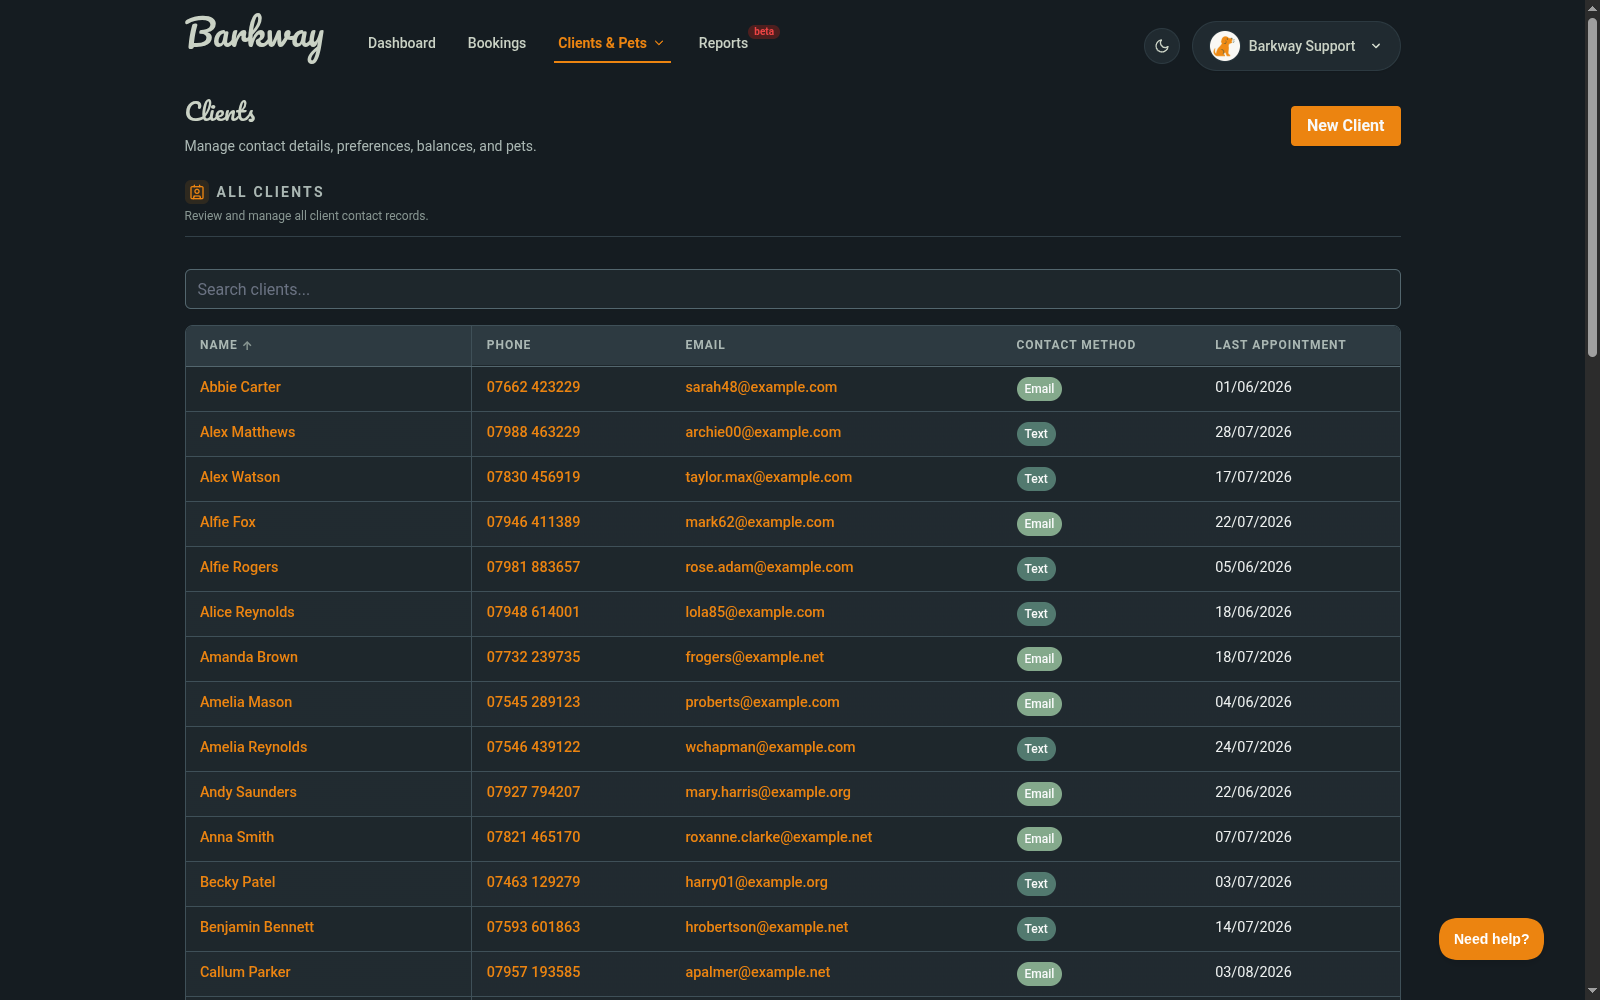
Create a client
- Open Clients & Pets, choose Clients, then click New Client.
- Fill in their name, email, and phone number.
- Set their preferred contact method (email or text).
- Click Create Client.
note
SMS is not live yet and is not a priority right now, but saving a preferred contact method helps for future updates.
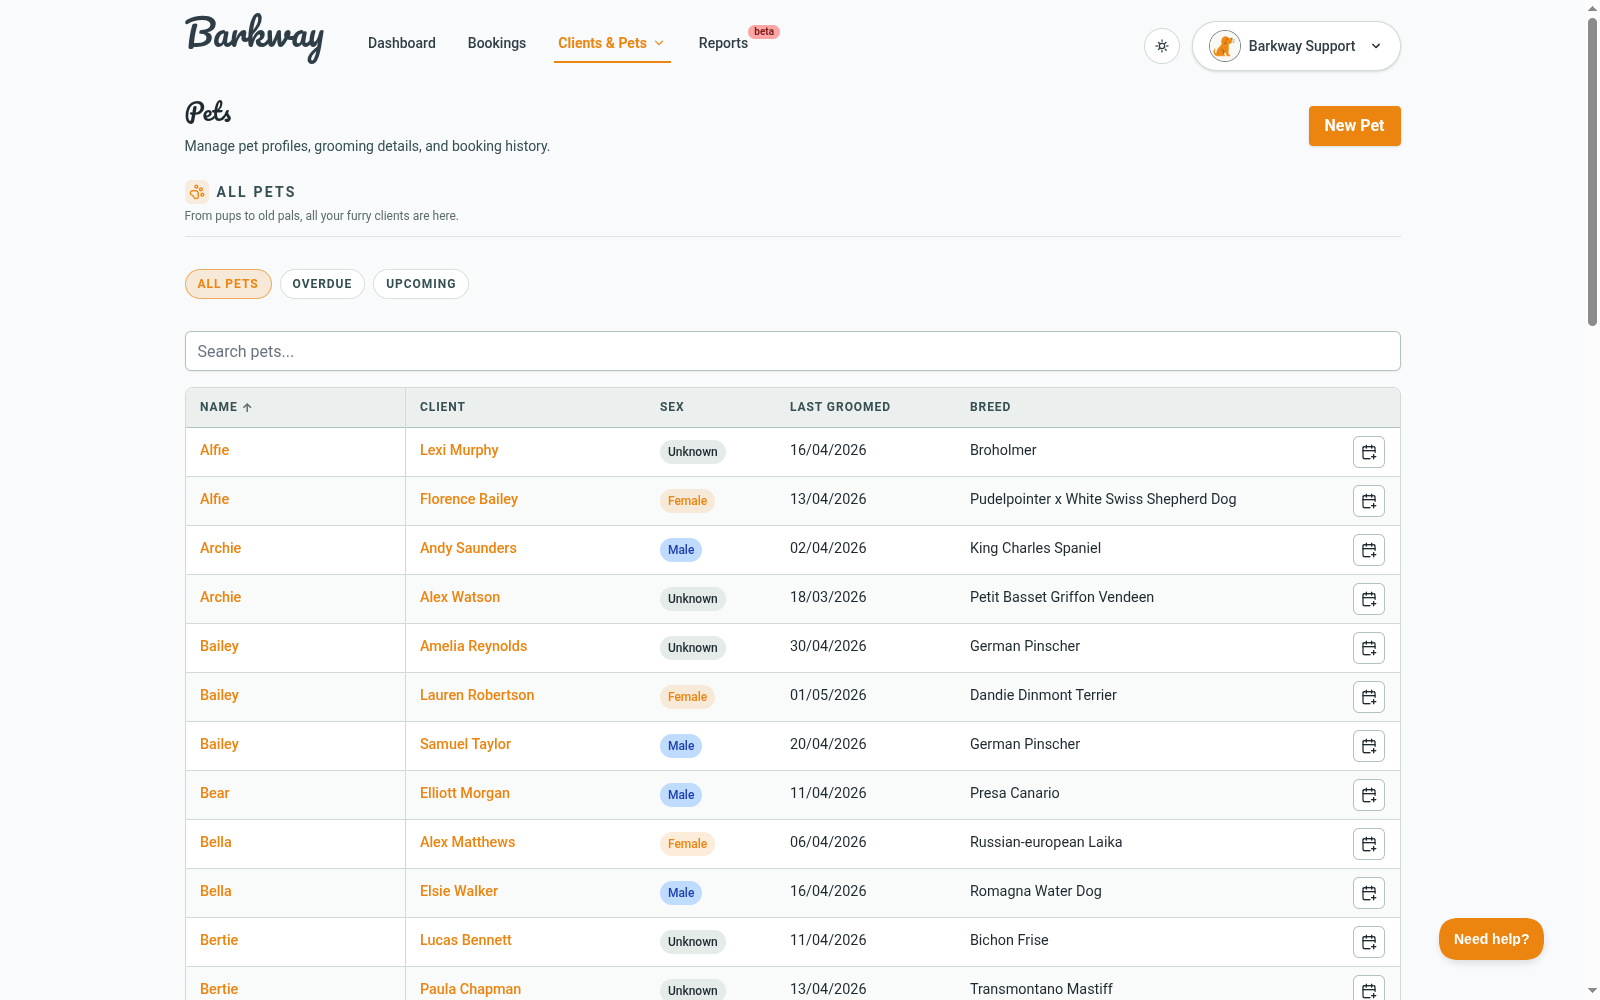
Add a pet
Once the client is saved, you can add a pet straight away from the client page or come back to it from Clients & Pets.
- Open Clients & Pets, choose Pets, then click New Pet.
- Enter the pet’s name, breed, age, and temperament.
- Add health notes (allergies, vet info) so you’ve got them to hand.
- Upload a photo if you have one.
- Save.

tip
If you want to keep moving quickly, create the client first, then add the pet straight after while their details are still fresh.
Why it matters
- Client and pet records keep everything organised.
- Notes like temperament or vet details save you from awkward surprises.
- Photos make it easier to match names to faces (and furry faces).
Next step
With at least one client and pet saved, you’re ready for the fun part: making your first booking. 🎉
Keep going
Jump to the next guide or browse related features when you’re ready.