Editing a client
Keep client info sharp and useful - names, contact details, address, emergency vet, notes - plus control of the client balance.
Step-by-step

-
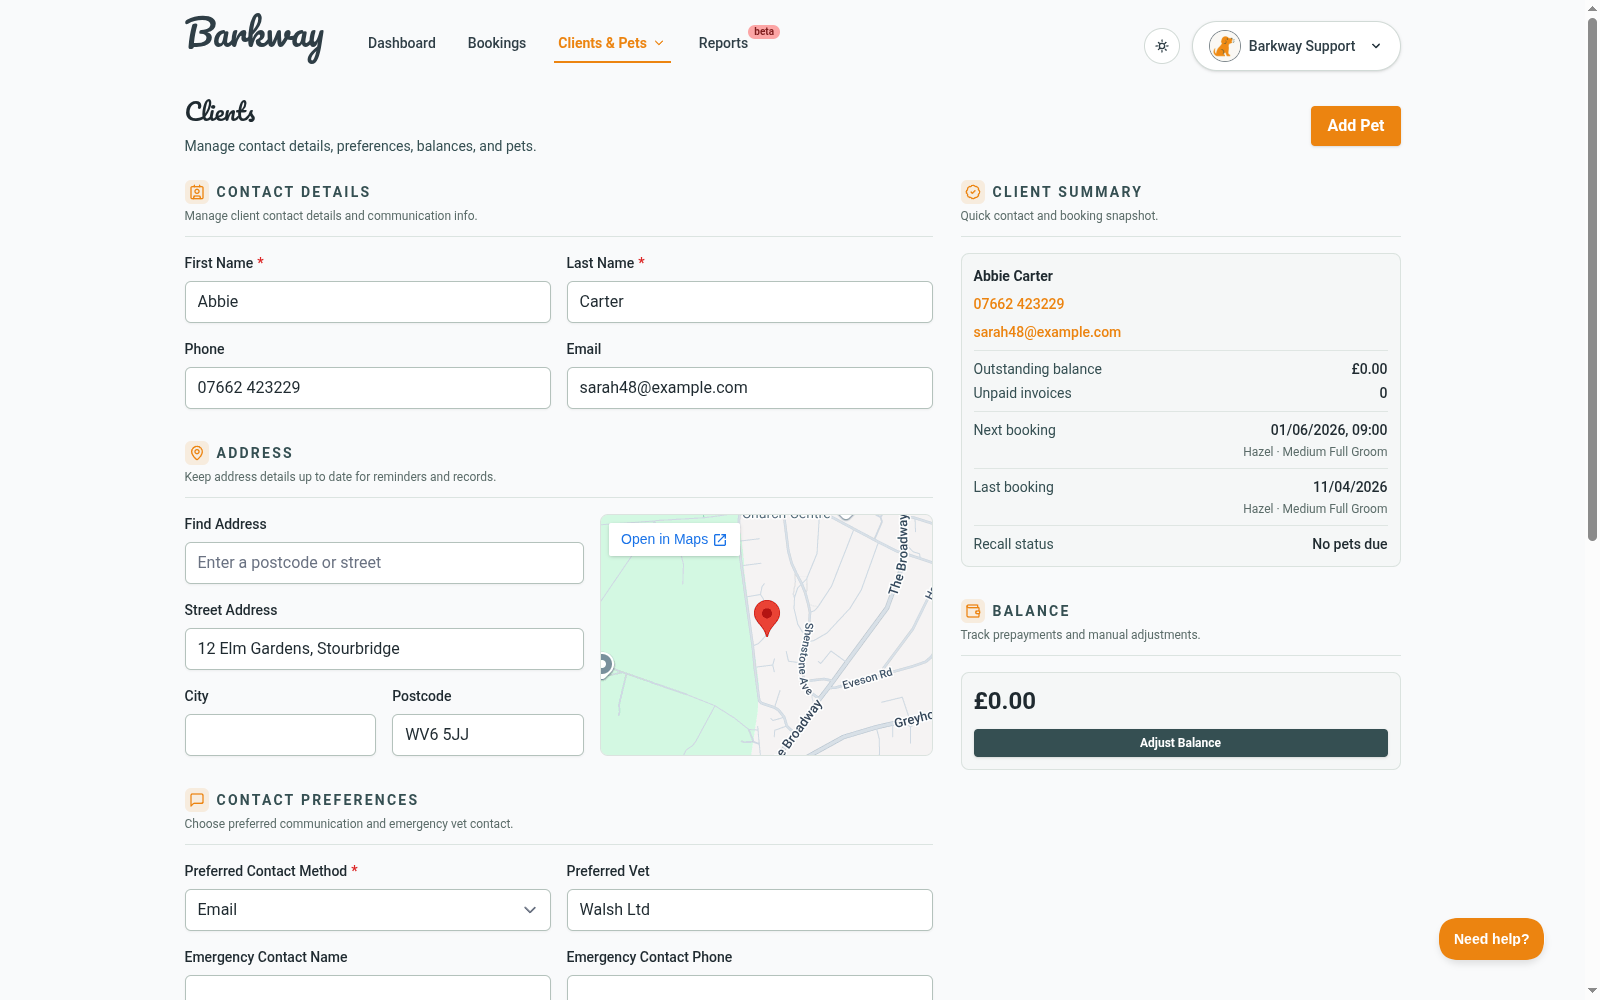
Open the client
Open Clients & Pets, choose Clients, then click a client’s name. -
Update contact details
Adjust First Name, Last Name, Phone, and Email. These drive reminders and receipts, so keep them accurate. -
Edit the address
Update the address details if you want them to appear on invoices. The client page shows a map preview when an address is saved. -
Set contact preferences
Choose Email or Text (SMS is not live yet and is not a priority right now, but this preference will be used if/when it launches). -
Update notes
Keep anything useful here - payment preferences, availability, anything future-you will thank you for. -
Manage client balance
The Balance panel lets you add or remove credit with Adjust Balance:- Add credit for prepayments or adjustments.
- Remove credit if you need to correct a balance (can’t go below zero).
-
Review registered pets
The linked pets section shows their pets with quick links. Use Add Pet on the client page to register another one. -
Save
Click Save Changes.
Header actions
- Add Pet - quick shortcut to attach a new pet to this client.
- Delete Client
- Available only when the client has no pets.
- If they do have pets, the button is disabled to protect your records.
- Deleting a client is a soft delete so data is retained for long-term reporting. Data will be cleaned up in line with future GDPR retention processes.
Tips
- Grab at least one reliable contact method.
- Keep addresses current if you use the map preview.
- Client balance is best for regulars - money on file you can apply to deposits or invoices.
🐾 Editing a client should be quick and painless - like a tidy-up trim. Update the essentials, manage their balance, and you’re back to the list in one click.
Need a hand?
Email the Barkway team and we’ll point you to the right place.